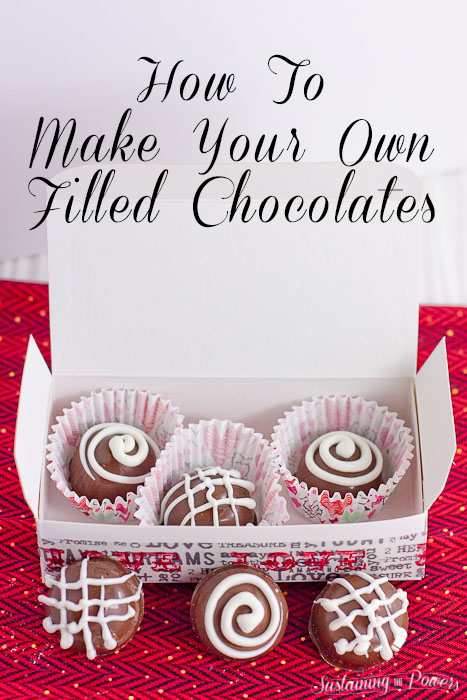
Last week I showed you how to make your own chocolate shapes using candy melts. This week, I wanted to show you how to make your own filled chocolates. I’ll be filling these with a white chocolate, peanut butter ganache, but you can use any number of your favorite fillings.
Some people might call these truffles, others bon bons, others just filled chocolates. If you want to get technical, a truffle requires you to use ganache. Now, I’m not a pastry chef, or chocolatier, but I do love to use wikipedia pretend I know fancy french cooking techniques. A ganache consists of a mixture of cream and chocolate. Typically you heat up the cream until almost boiling and pour it over finely chopped chocolate, whisking it together until the chocolate melts and blends with the cream. You can change the ratio of cream to chocolate depending on how runny or thick you want your ganache. A bon bon (french for “good good”) can be any sort of filled chocolate. I’m using a white chocolate peanut butter ganache filling inside these chocolates so maybe that makes them truffle-stuffed bon bons?
The process for making these is fairly similar to the solid chocolates and involves melting down the candy melts, partially filling a bon bon mold to make the outside of the chocolate, chilling until hard, adding the filling, chilling that, then adding the bottom layer of the chocolate to seal in the filling and chilling one final time. You can also decorate the tops with swirls of a different color chocolate if you want, or leave off that extra step.
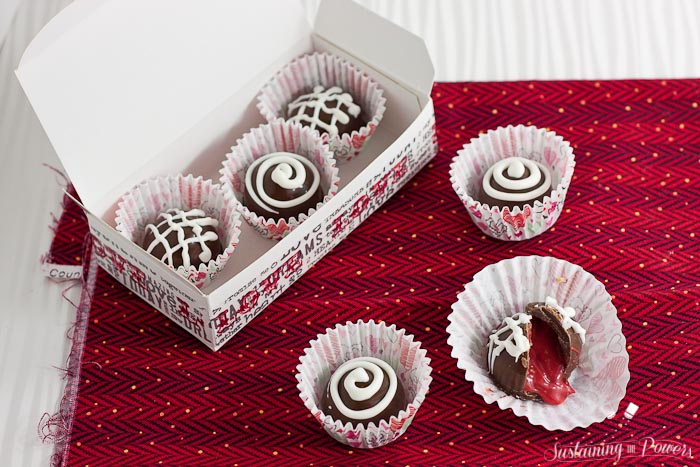
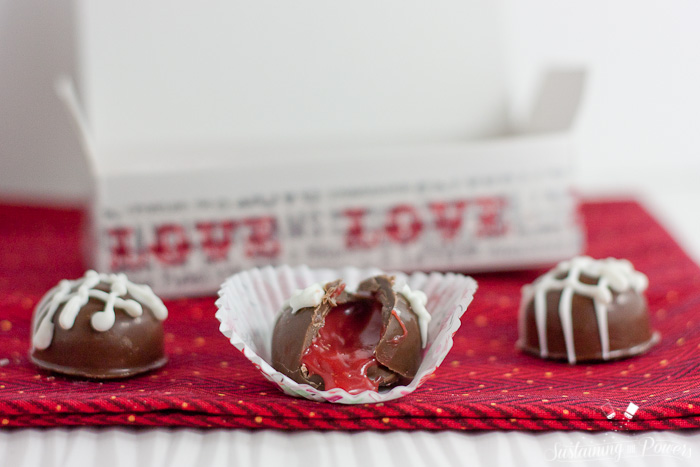
Now, you can get crazy obsessive over how perfect these are if you like, or you can just make deliciousness and call it good. There’s a bit of a learning curve, so you’ll get better as you practice over time. I’m going to show you what mine looked like when I was done:
See, food bloggers can screw up too. I didn’t account for the filling chilling the chocolate bottoms so quickly, so I waited too long to tap it down and got some majorly ugly bottoms. But guess what? The ugly ones are in the photos above, and you didn’t even notice! I think they add to the homemade charm. 🙂
To make it easy to figure out, here’s a video from my Instagram feed on how I fill the bon bon molds to make the initial shells. You just want a thin layer of chocolate all around the outside of the mold, so you’ll see that I pipe in a bit of chocolate to the bottom then use the tip of my decorator bag to pull it up the sides. If you don’t have the fancy decorator bags, you can use a popsicle stick, tiny spoon, chop stick, straw, or flat-ended toothpick.
After you fill the shells and chill the chocolate, add in the filling. I recommend using a decorator bag or a ziploc bag with the corner cut off to give you more control over where it goes. You only want to fill them most of the way, because you need to leave room for the bottom of the chocolate to be put in place. I leave about 1/4 of an inch from the bottom of the filling and the top of the mold.
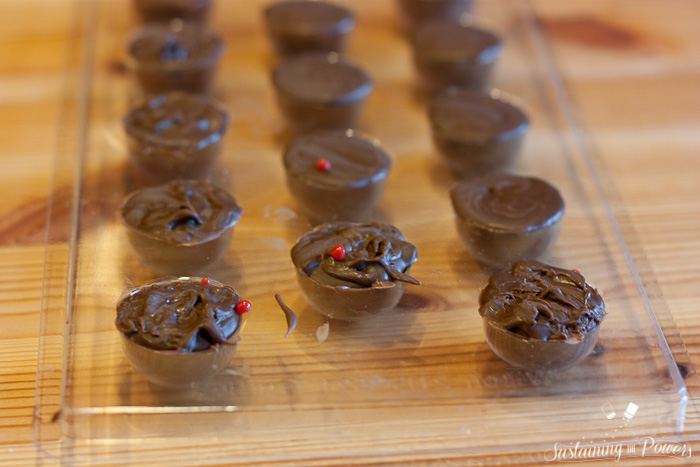
Depending on your filling, you may want to freeze it again at this point. Super runny things like honey, adult beverages (I hear Bailey’s is fun!) and caramel may need to be frozen before you continue. Feel free to experiment and see what works best. After the filling is in, add on another thin layer of chocolate to seal it all in and be sure to pick up the mold and tap it on the table after every 1-2 chocolates so you don’t get the ugly bottoms I have above.
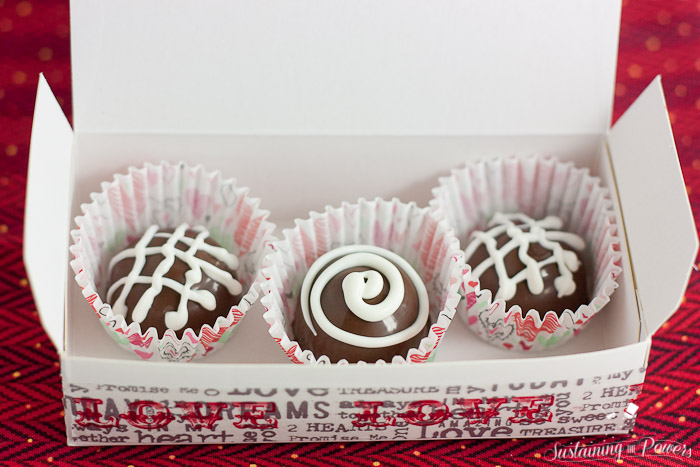
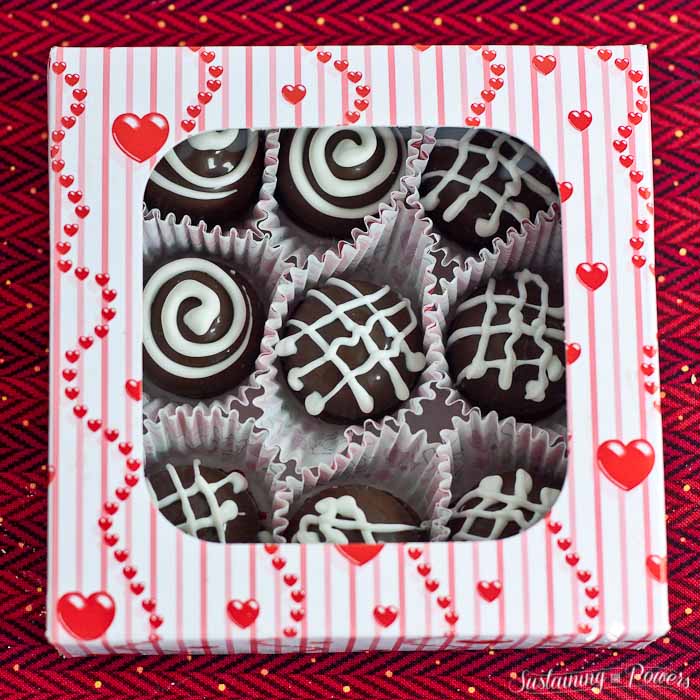
You’ll chill one last time to set the bottom and you’re done! I like to add a little drizzle or swirl of a contrasting color like white or pink on top to add a little extra something and you can buy these candy boxes and mini cupcake wrappers at your local craft store or online.
Before you start, be sure and check out my important tips for working with candy melts in last week’s post.
How To Make Filled Chocolates with White Chocolate Peanut Butter Ganache
- Total Time: 40
- Yield: 24 1x
Description
Making your own filled chocolates is easier than you think!
Ingredients
For the Chocolates
- 1/2 bag light or dark cocoa wilton candy melts
- 1/4 bag contrasting candy melts (white, pink, etc)
- 2 decorator or ziploc bags
- 1-2 plastic candy molds or ice cube trays. (I used the bon bon mold from Wilton)
For the Peanut Butter Ganache
- 4oz (about 3/4 cup) vanilla flavor wilton candy melts (I used red so I’d have red centers)
- 2oz (about 1/4 cup) Peanut butter chips
- 1/3 cup heavy cream
Instructions
- Make the white chocolate peanut butter ganache (see directions below) and chill at least 2 hours or overnight. (Or make your own choice of filling.)
- Place 1/2 a bag of cocoa candy melts into the decorator bag or ziploc, twist the bag above the melts, and place the bag into the microwave.
- Microwave on half power for 1 minute.
- Take the bag out of the microwave and knead the candy melts through the bag to help them start melting.
- Microwave for another 30 seconds on half power.
- Knead to mix.
- Repeat microwaving for 30 seconds on half power and kneading until candy has fully melted. (Note that the candy will continue dissolving as you squeeze it through the bag, so stop microwaving when you see that all but tiny dime-sized lumps have melted.)
- Snip about a quarter inch off the corner or tip of the bag. (You want it just smaller than the diameter of a pencil.)
- Place the tip of the bag into the bon bon mold and pipe a small amount into the bottom. Using the tip of the bag spread the chocolate up the sides of the bon bon mold to make the outer shell of the bon bon. (see the linked Instagram video above for a clear visual.)
- Once all shells are finished, place the mold in the freezer for about 10 minutes, or until chocolate has mostly set.
- Add ganache to a decorator bag or ziploc and snip about 1/4″ off the end.
- Pipe ganache into the candy shells, leaving about 1/4″ of room at the top of the mold.
- Return to freezer to chill for another 10 minutes.
- Your cocoa candy melts have started to harden by now inside the decorator bag. Place them back in the microwave for another 30 second on half power, or until re-melted. (Don’t overmelt!)
- Remove the filled chocolates from the freezer, and pipe a small amount of chocolate over the filling to seal them.
- Pick up the mold and drop it a few times on the table in between every 1-2 chocolates to settle the chocolate smoothly on the filling.
- When all chocolates are sealed, return to freezer for another 5-10 minutes or until chocolate is set.
- Turn candies out of mold and gently tap to free any stragglers.
- To add an accent, follow candy melting directions above to melt a contrasting color of white chocolate in a decorator bag.
- Snip a small hole off the end of the bag and drizzle, swirl, or criss-cross the white chocolate over the finished bon bons.
- Place in mini cupcake liners and a decorative box for a cute gift, or just eat them!
- Store any leftover cream-filled or dairy-filled candies in the fridge, just to be safe.
To make white chocolate peanut butter ganache
- Finely chop candy melts and peanut butter chips.
- In a microwave safe bowl or tupperware, combine chopped chocolate, cream, and peanut butter.
- Microwave on half power for 1 minute.
- Remove from microwave and whisk with a fork until cream and chocolate has combined as much as possible. (There will still be lumps)
- Return to the microwave for another 30 seconds on half power.
- Stir until fully combined, microwaving again if chocolate still hasn’t fully melted.
- Cover and refrigerate for at least 2 hours, or overnight.
Notes
- You can use any number fillings, ganache, chopped nuts, straight peanut butter, boozy fillings, jams, jellied, spreads, caramel, dulce de leche, cookie butter, etc. Anything you dream up, try it out!
- Gluten-free: The candy melts are gluten-free, take care to check the ingredients of your fillings.
- Vegetarian: These are vegetarian.
- Vegan: These are not vegan, as the candy melts all contain milk solids. Feel free to try this method with vegan chocolates and fillings.


Mmmm…these look so good! I love raspberry filled chocolates! Any suggestions on how to make raspberry filling?
Thanks Aimee! You should be able to follow the same steps for the peanut butter ganache, but instead of adding in the peanut butter chips to the white chocolate, add in 1/4 cup of seedless raspberry preserves. (You can also buy regular preserves and strain the seeds out with a fine mesh strainer after the ganache is melted and combined if you really need to, but it’s kind of a pain.)
I should also mention, if you don’t mind runny chocolates, you can just fill them with the raspberry jam. I think it will depend on how much raspberry you love.
Too much raspberry? What is that? lol! Thanks for the response! I think I need to try a few variations of this. 🙂
Haha. Go crazy then! Or even more crazy- use raspberry liqueur and make them boozy grown-up chocolates! (I’m tempted to try making wine-filled ones.)
Those look so so delicious!! It seems like it would be so fun to try making!
These disappeared not too long after this photo was taken. They are so fun to make! (And fun even if they don’t look pretty the first time) I hope you try them!
Do they need to be stored in the fridge? If I wanted to put a tray of them out or give them as a gift in a box, do they have to remain chilled?