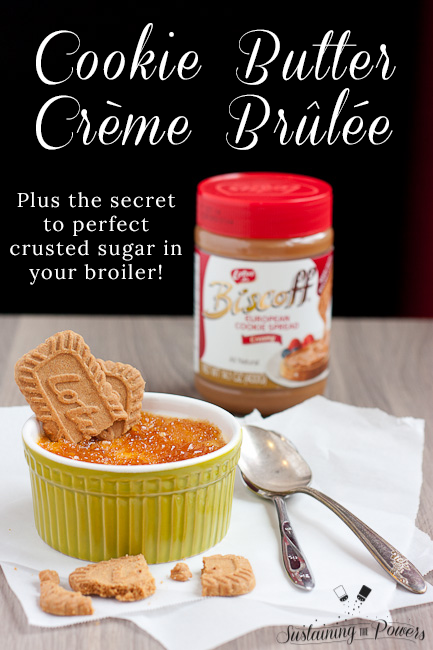
Creme Brulee, with its creamy custard center and its crunchy, sugary shell, has come together with the magic of cookie butter in this Cookie Butter Creme Brulee. The best part is, no torch will be needed because I’m sharing the secret to perfect crusted sugar in your broiler!
I know what you’re thinking, it’s the beginning of January when everyone goes on a diet and here I am tempting you with Cookie Butter Creme Brulee. I should probably say I’m sorry, but I’m really not. This magical dessert was invented for our New Year’s Eve celebrations by request of my dear friend Lizzie who asked for a creme brulee recipe back in November. Here you go Lizzie!
We had 2 of our closest friends visit us from Fort Collins for a low key evening of welcoming in the new year, and I wanted something fancy for after dinner. This got many oohs and ahhs and then the table fell silent while everyone ate the incredible dishes of creme. Silence while guests savor your food is the best compliment of a meal you can get in my book. Now, I won’t lie to you and tell you that this doesn’t take a decent amount of time to make, but it is actually relatively easy as far as cooking skills go. I’m going to make sure to break it down so anyone can make and eat this amazing dessert.
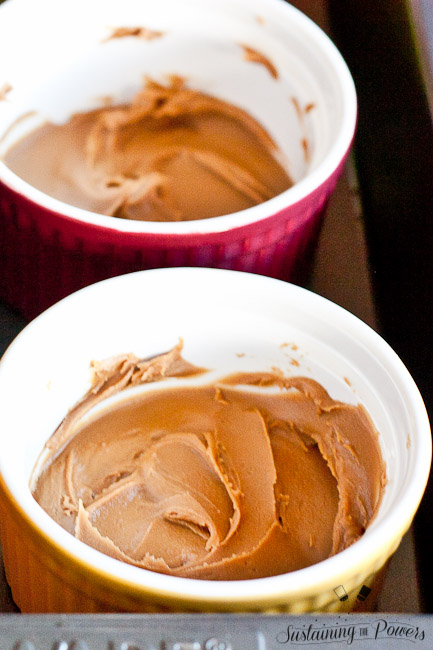
Here’s what makes it cookie butter flavor. A generous swirl of cookie butter went into the bottom of each ramekin. Imagine: you break through the sugary crust, dip through the silky creme and dip into a bit of this at the bottom then savor the whole bite. Flavors dance on your tongue. Seriously y’all, you need to make this. Do I have to say any more?
Don’t like cookie butter? We are no longer friends That’s okay, you can leave it out and still have magical vanilla creme brulee. It just won’t be *quite* as magical as the cookie butter variety. (Unless you’re leaving it out because you’re gluten-free. In which case, it can be just as magical for you. Or try some Nutella in place of the cookie butter for extra magic.)
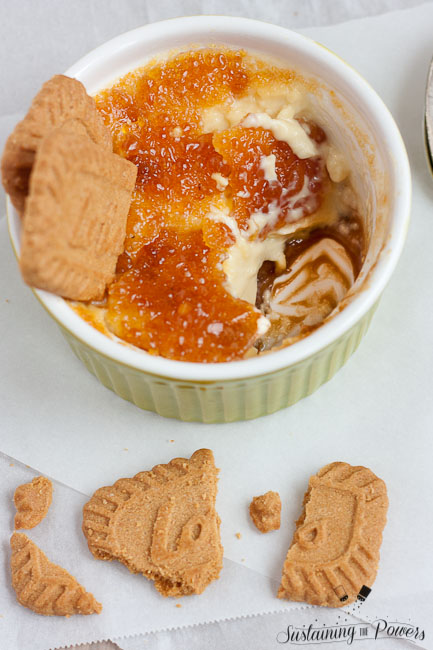
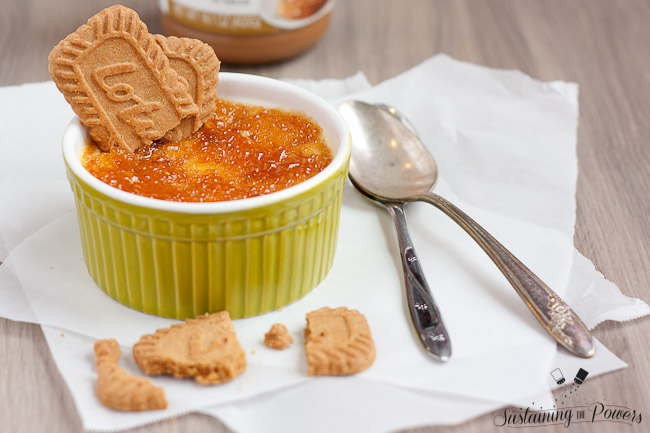
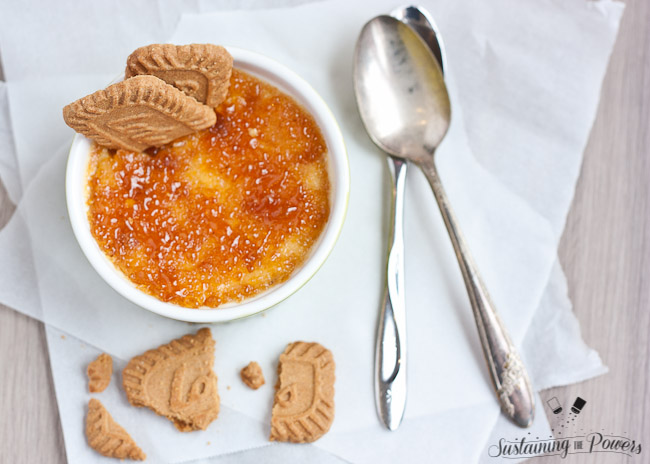
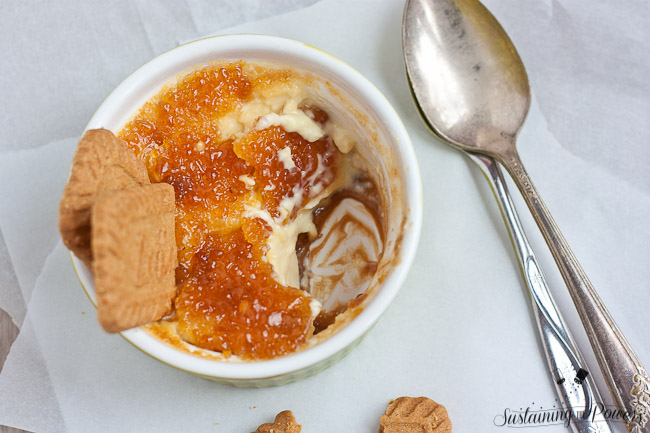
Look at that crunchy sugar shell! Can you believe I did that with a broiler? Are you ready for the secret? Okay, I’ll tell you:
The secret to perfect crusted sugar in your broiler is to first melt the sugar in a pan on the stove, let it cool, and grind it back up into a powder before topping and broiling the creme brulee.
By breaking down the structure of the sugar first in a pan on the stove, the ground up, once-melted sugar will melt again much, much faster when it’s popped under the broiler. You really want to brulee your sugar quickly when doing a creme brulee so you don’t melt the cold custard, and this is the perfect way to achieve that speed.
Are you ready for the recipe? It’s not many ingredients, but there is a decent amount of time and labor, so be prepared ahead of time and start this in the morning or the night before. The custard can always chill in the fridge for up to 2 days and then just top with the pre-bruleed “sugar” and pop under the broiler right before you serve it.
Print
Cookie Butter Creme Brulee
- Prep Time: 30
- Cook Time: 60
- Total Time: 1 hour 30 minutes
- Yield: 8 1x
Description
Creme Brulee, with it’s creamy custard center and it’s crunchy, sugary shell, has come together with the magic of cookie butter in this Cookie Butter Creme Brulee. The best part is, no torch will be needed because I’m sharing the secret to perfect crusted sugar in your broiler!
Ingredients
- 1 quart (2 pints) heavy cream (or heavy whipping cream)
- 2 ½ tsp. vanilla extract (Mexican vanilla if you can find it)
- ½ cup sugar
- 6 large egg yolks
- 1 cup Biscoff or Trader Joe’s cookie butter spread
- 8 (3.5-4 oz) ramekins or other small, shallow oven-proof vessels
- 3/4 cup pre-bruleed “sugar” (See directions below)
- 2 Tablespoons water
Instructions
- Preheat the oven to 325.
- In a medium saucepan over medium heat, combine cream and vanilla and stir constantly until mixture begins to bubble around the edges and almost simmer.
- Remove pan from heat. Cover and allow to cool for about 15 minutes.
- After the cream has set for 15 minutes, combine the egg yolks and 1/2 cup of sugar in a medium bowl (one with a pour spout if you have it.)
- Whisk the yolks and sugar until the mixture begins to lighten.
- Patiently add the cream mixture very, very slowly, a little at a time, stirring continually until it’s all combined. I know it’s tempting, but if you rush this step, you will cook the eggs with the hot cream and will not have a silky custard.
- Take the cookie butter spread and smear a thin layer (about 2 Tablespoons) on the bottom of each ramekin with the back of a spoon.
- Place the cookie buttered ramekins in two 9×13 baking pans (or other similar pans).
- Gently pour the custard mixture into each ramekin over the cookie butter, filling them about a half inch below the top lip.
- Add water to the baking pans for a water bath (pour this inside the large pan, but outside of the ramekins), allowing the water to come no higher than halfway up the sides of the ramekin. (This may be easiest to do with the pan sitting already on the oven rack in the oven.)
- Carefully move the pans to the oven and bake for 45-60 minutes, or until the creme has set. You can test by picking up a ramekin and wiggling it – when done, the edges of the custard will stay mostly still while the center wiggles like jello.
- Remove from oven and water bath and allow to cool on a cooling rack for about 15 minutes before covering the tops with plastic wrap and placing them in the refrigerator for at least 2 hours.
- While the creme cools, make the pre-bruleed sugar. (see below)
- Remove the creme brulee from the fridge and equally divide the pre-bruleed sugar among each custard, making sure to cover to the edges.
- Move your oven rack to the highest setting and turn on the broiler.
- Place the sugared ramekins onto a cookie sheet or baking pan and place them under the broiler for 2 minutes, leaving the oven door or broiler drawer slightly open.
- Remove from the oven and either serve immediately or refrigerate for no more than anther 30 minutes as crusted sugar will melt when left in the fridge.
For Pre-Bruleed “Sugar”
- Line a small cookie sheet with parchment paper.
- In a dry pan over medium heat, add 3/4 cup white sugar and 2 Tablespoons water.
- Stir the sugar constantly to prevent it from burning, and if it begins to blacken, lift the pan off the stove and lower the heat before returning the pan to the heat.
- The sugar should slowly begin to melt down into a light brown liquid, much like caramel.
- Once all the sugar in the pan has melted, pour it out onto a parchment-lined cookie sheet and place in the fridge to cool.
- Once the sugar has re-solidified, break or smash it up into smaller pieces.
- Place sugar shards in a blender or food processor and blend until it resembles sugar once again. (You may have some larger chunks – those will be fine.)
- Store pre-bruleed “sugar” in an airtight container until ready to top your creme brulee.
Notes
- Makes 6-8 depending on the size of your dishes.
- Gluten-free: Cookie butter contains gluten. Use Nutella in place of cookie butter, or leave it out.
- Vegetarian: This is vegetarian.
- **Your blender blade may be dulled by chopping up the sugar, so use care when attempting this.
- Making it ahead of time? The custard can always chill in the fridge for up to 2 days and then just top with the pre-bruleed “sugar” and pop under the broiler right before you serve it
Have you ever made creme brulee before?


Oh man, these look delicious! I love that Biscoff cookie spread!
Thanks Sarah! It’s soooo addicting. I only used about half the jar to make these and went to find the rest to put on apples for breakfast this morning. My husband had eaten the whole rest of the jar with a spoon!
Oooh, I love cookie butter! I’ve made one recipe with it before, but I’ve been meaning to try another one. This sounds really good! My sister-in-law loves creme brulee, so I may need to make this for her sometime.
Sorry I missed your comment Jenna. I thought I’d replied already. The cookie butter in this seriously takes creme brulee to another level. It has recipe upgrade power much like Nutella does!
Thank you, Thank you for the tip on broiling sugar. I have been looking for a torch in the stores recently with no luck and was just about to purchase one online. Totally trying this first.
Definitely try this first! I’ve had a torch in the past and I actually find the crust to be better with this method than when you do plain sugar with a torch. It just takes a bit more patience to melt the sugar down in the pan. Plus it saves time because you can brulee them all at the same time in the broiler. Even with a torch, I’d probably still pre-brulee the sugar to save time.